How I Can Help
Here's a look at what wainscoting installation can involve. Wall condition and panel system choice shape the scope:
Install beadboard wainscoting
Install raised panel wainscoting
Install flat panel wainscoting
Install chair rail molding
Install board and batten wainscoting
Install shiplap wainscoting
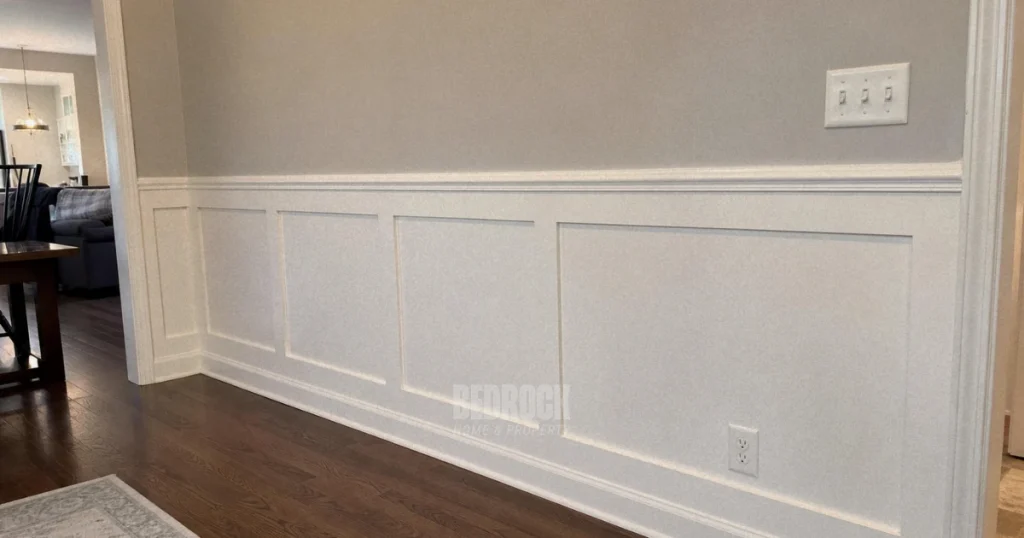
Install recessed panel wainscoting
Paint or stain wainscoting
Install wainscoting in bathrooms
Install wainscoting in dining rooms
Install full-wall wainscoting
Cap wainscoting with chair rail
Install corner pieces and trim
Tasks Not Typically Included
Wainscoting varies based on wall surface, panel system, and how much prep the walls need before anything goes up. This covers what's typically outside scope, but contact me before booking if you want to confirm your wall condition.
Drywall repair or skim coating before panel installation
Tile or stone wainscoting (requires tile setter)
Licensed electrical work for outlets or switches within the wainscoting area
Full room painting after installation (quoted separately if needed)
Always Included With Every Visit
These four standards come with every job, no matter the size or scope.
Neat work area
Floors and adjacent walls stay protected from cuts and adhesive throughout the install.
Full cleanup
All panel offcuts, nails, and caulk scraps are cleaned up before I leave.
Professional appearance
I arrive ready to work and handle your walls and trim with care throughout.
Job walkthrough
We walk the finished wall together so you can confirm panel alignment, seams, and caulk lines.
How It Works
Four simple steps to complete your wainscoting installation service.
Wainscoting Installation FAQs
Common questions about wainscoting installation.
How much does wainscoting cost?
Wainscoting installation runs $8-15 per linear foot installed, with most single-room projects starting at $450. A standard dining room or hallway typically runs $450-900. Whole-floor projects are quoted by total linear footage.
What height should wainscoting be?
The most common heights are 32-36 inches for a traditional look and 42-48 inches for a more formal or dramatic effect. I can install at any height, and taller panels tend to be more popular in current design trends.
What's the best material for wainscoting?
MDF is the most common material for painted wainscoting because it is stable and accepts paint smoothly. Real wood is better for stained applications. PVC trim board is the right choice for bathrooms and mudrooms where moisture is a concern.
How long does wainscoting installation take?
A single room like a dining room or hallway takes 1-2 days. Whole first-floor wainscoting with multiple rooms and transitions runs 3-5 days depending on total linear footage and detail complexity.
Do you paint the wainscoting?
I prime all panels and trim and can apply one finish coat as part of the job, or deliver the surfaces prepped and ready for your painter.
Where I typically work
Proudly serving Dakota County homeowners and the surrounding communities.
Ready for Beautiful Wainscoting?
GET ESTIMATE
Add classic character to any room with professional wainscoting installation. Fill out the form below to schedule service and get a free estimate.
Request Service